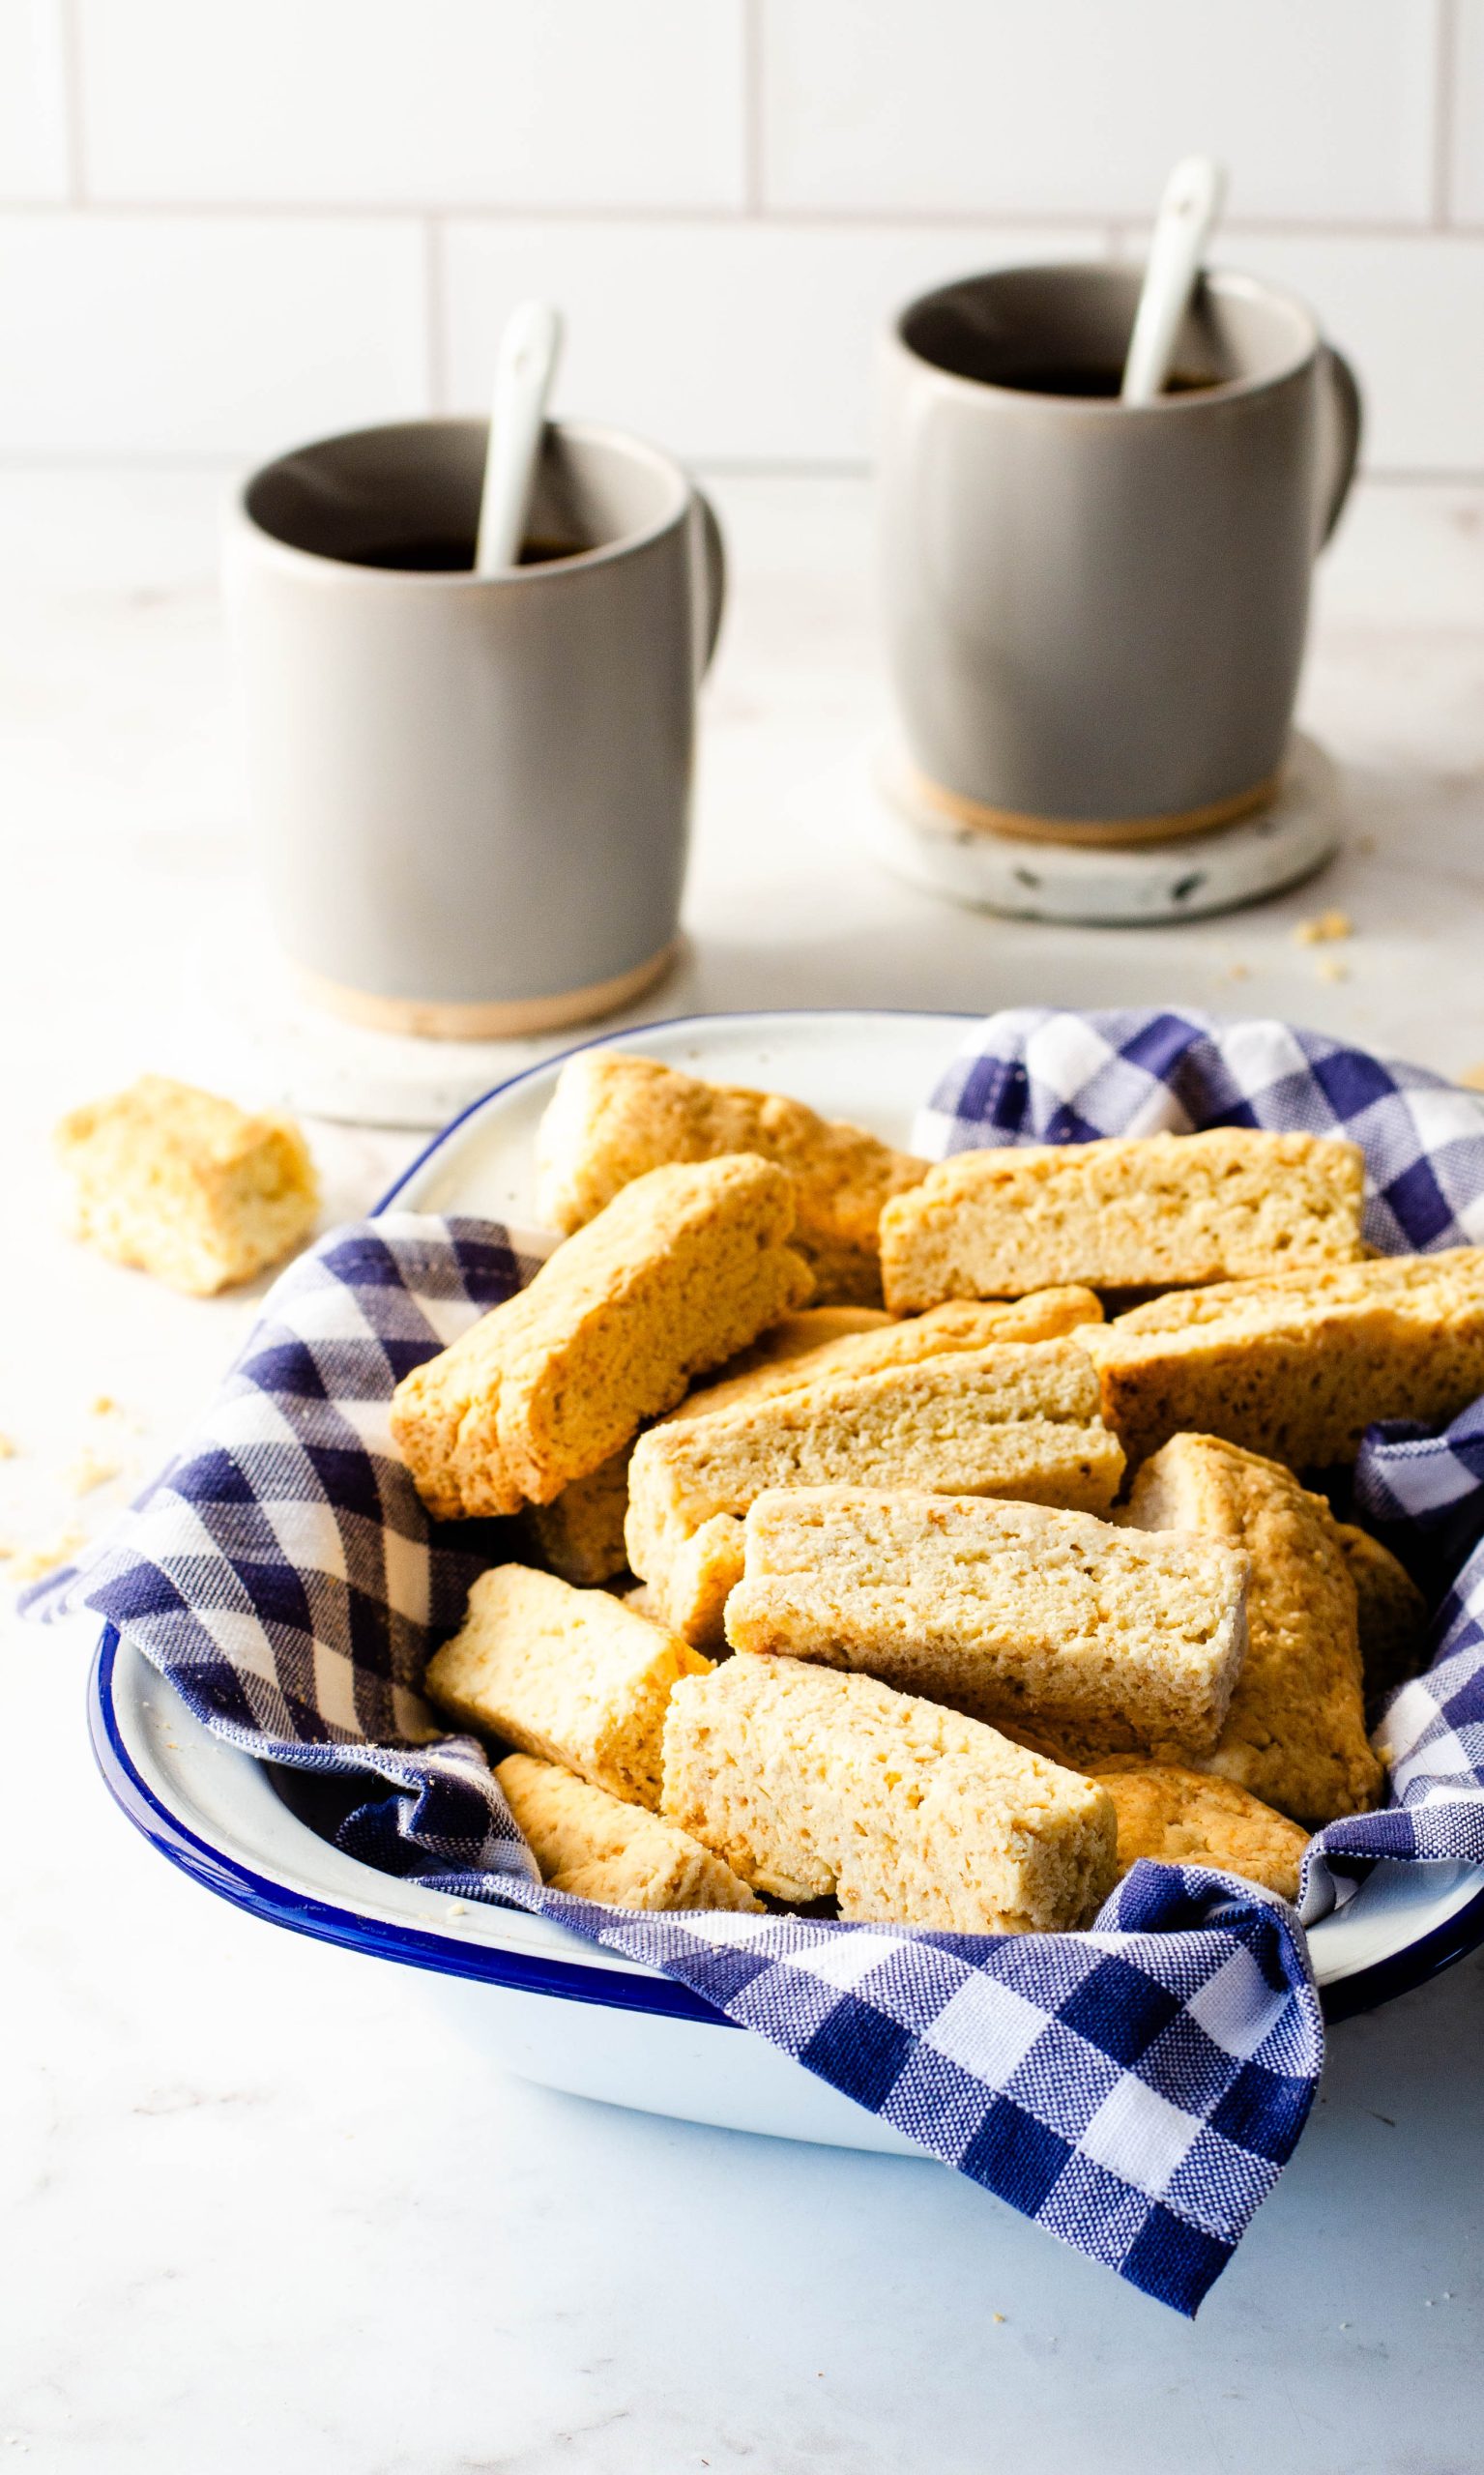
It is high time that I published another rusk recipe, and not just any rusk a GF Buttermilk rusk! You only need a few ingredients and even I was surprised at how good it turned out. It has the perfect crumb and there were no breaking and almost no crumbs, except the ones from eating them.
I had about four just trying to create a reel with taking a bite and breaking the rusks in half. I am not complaining. Tasting comes with the job description.
These Buttermilk rusks are easy and delicious to make and the bonus is they are gluten-free and low in sugar. You could also replace the sugar with erythritol.
I love rusks, with early morning coffee on camping trips, holidays, hiking trips, and coffee in bed. It has been very much ingrained in me. If there are rusks in my home I will eat them. So I don’t buy them often and to the disappointment of my family, I don’t bake them often. For a lot of people that are Gluten-free, rusks are one of those things that they feel pretty bummed about not being able to eat. And the ones available in the supermarket are extremely expensive and really don’t taste that great either.
Rusks or beskuit are very much a South African thing and are basically dried biscuits something similar to biscotti but less sweet. It can be dunk in coffee & tea. It is often eaten for breakfast. If you have never made your own rusks you won’t realise what high quantities of butter and sugar are in rusks. Our grandmothers really did know how to add sugar & butter to baked goods. Some recipes claim to be healthy but in reality, only the fibre has been increased by adding bran.
I have tested many rusks recipes, reducing sugar, and making them vegan. Adding various gluten-free flour blends has ended up rock hard or a crumbly mess.
So developing these ‘Healthier’ gluten-free rusks had me feeling like I won the rusk Lotto. This batch got the thumbs up from my children and husband but, next time I will double up the recipe because it did not last long at all.
I have kept it simple and used Health connection’s gluten-free self-rising flour. And also did not add seed oil but olive oil. Coconut oil will also work. I used 3/4 cup’s of sugar but you can always lower it to 1/2 a cup.
You can also try your hand at making your own gluten-free flour mix, try this recipe and store in a jar.
GLUTEN-FREE FLOUR MIX
290 g white rice flour
290g brown rice flour
230g potato flour
175g tapioca flour
14g xantum gum
Sieve ingredients together a few times to make sure it is mixed through. Also, use balloon whisk to stir.
Store in a 1L glass container. Use instead of wheat flour in baking. But when baking these rusks, measure out 500g of flour and add in 2 tsp baking powder and 1 tsp bicarbonate of soda.
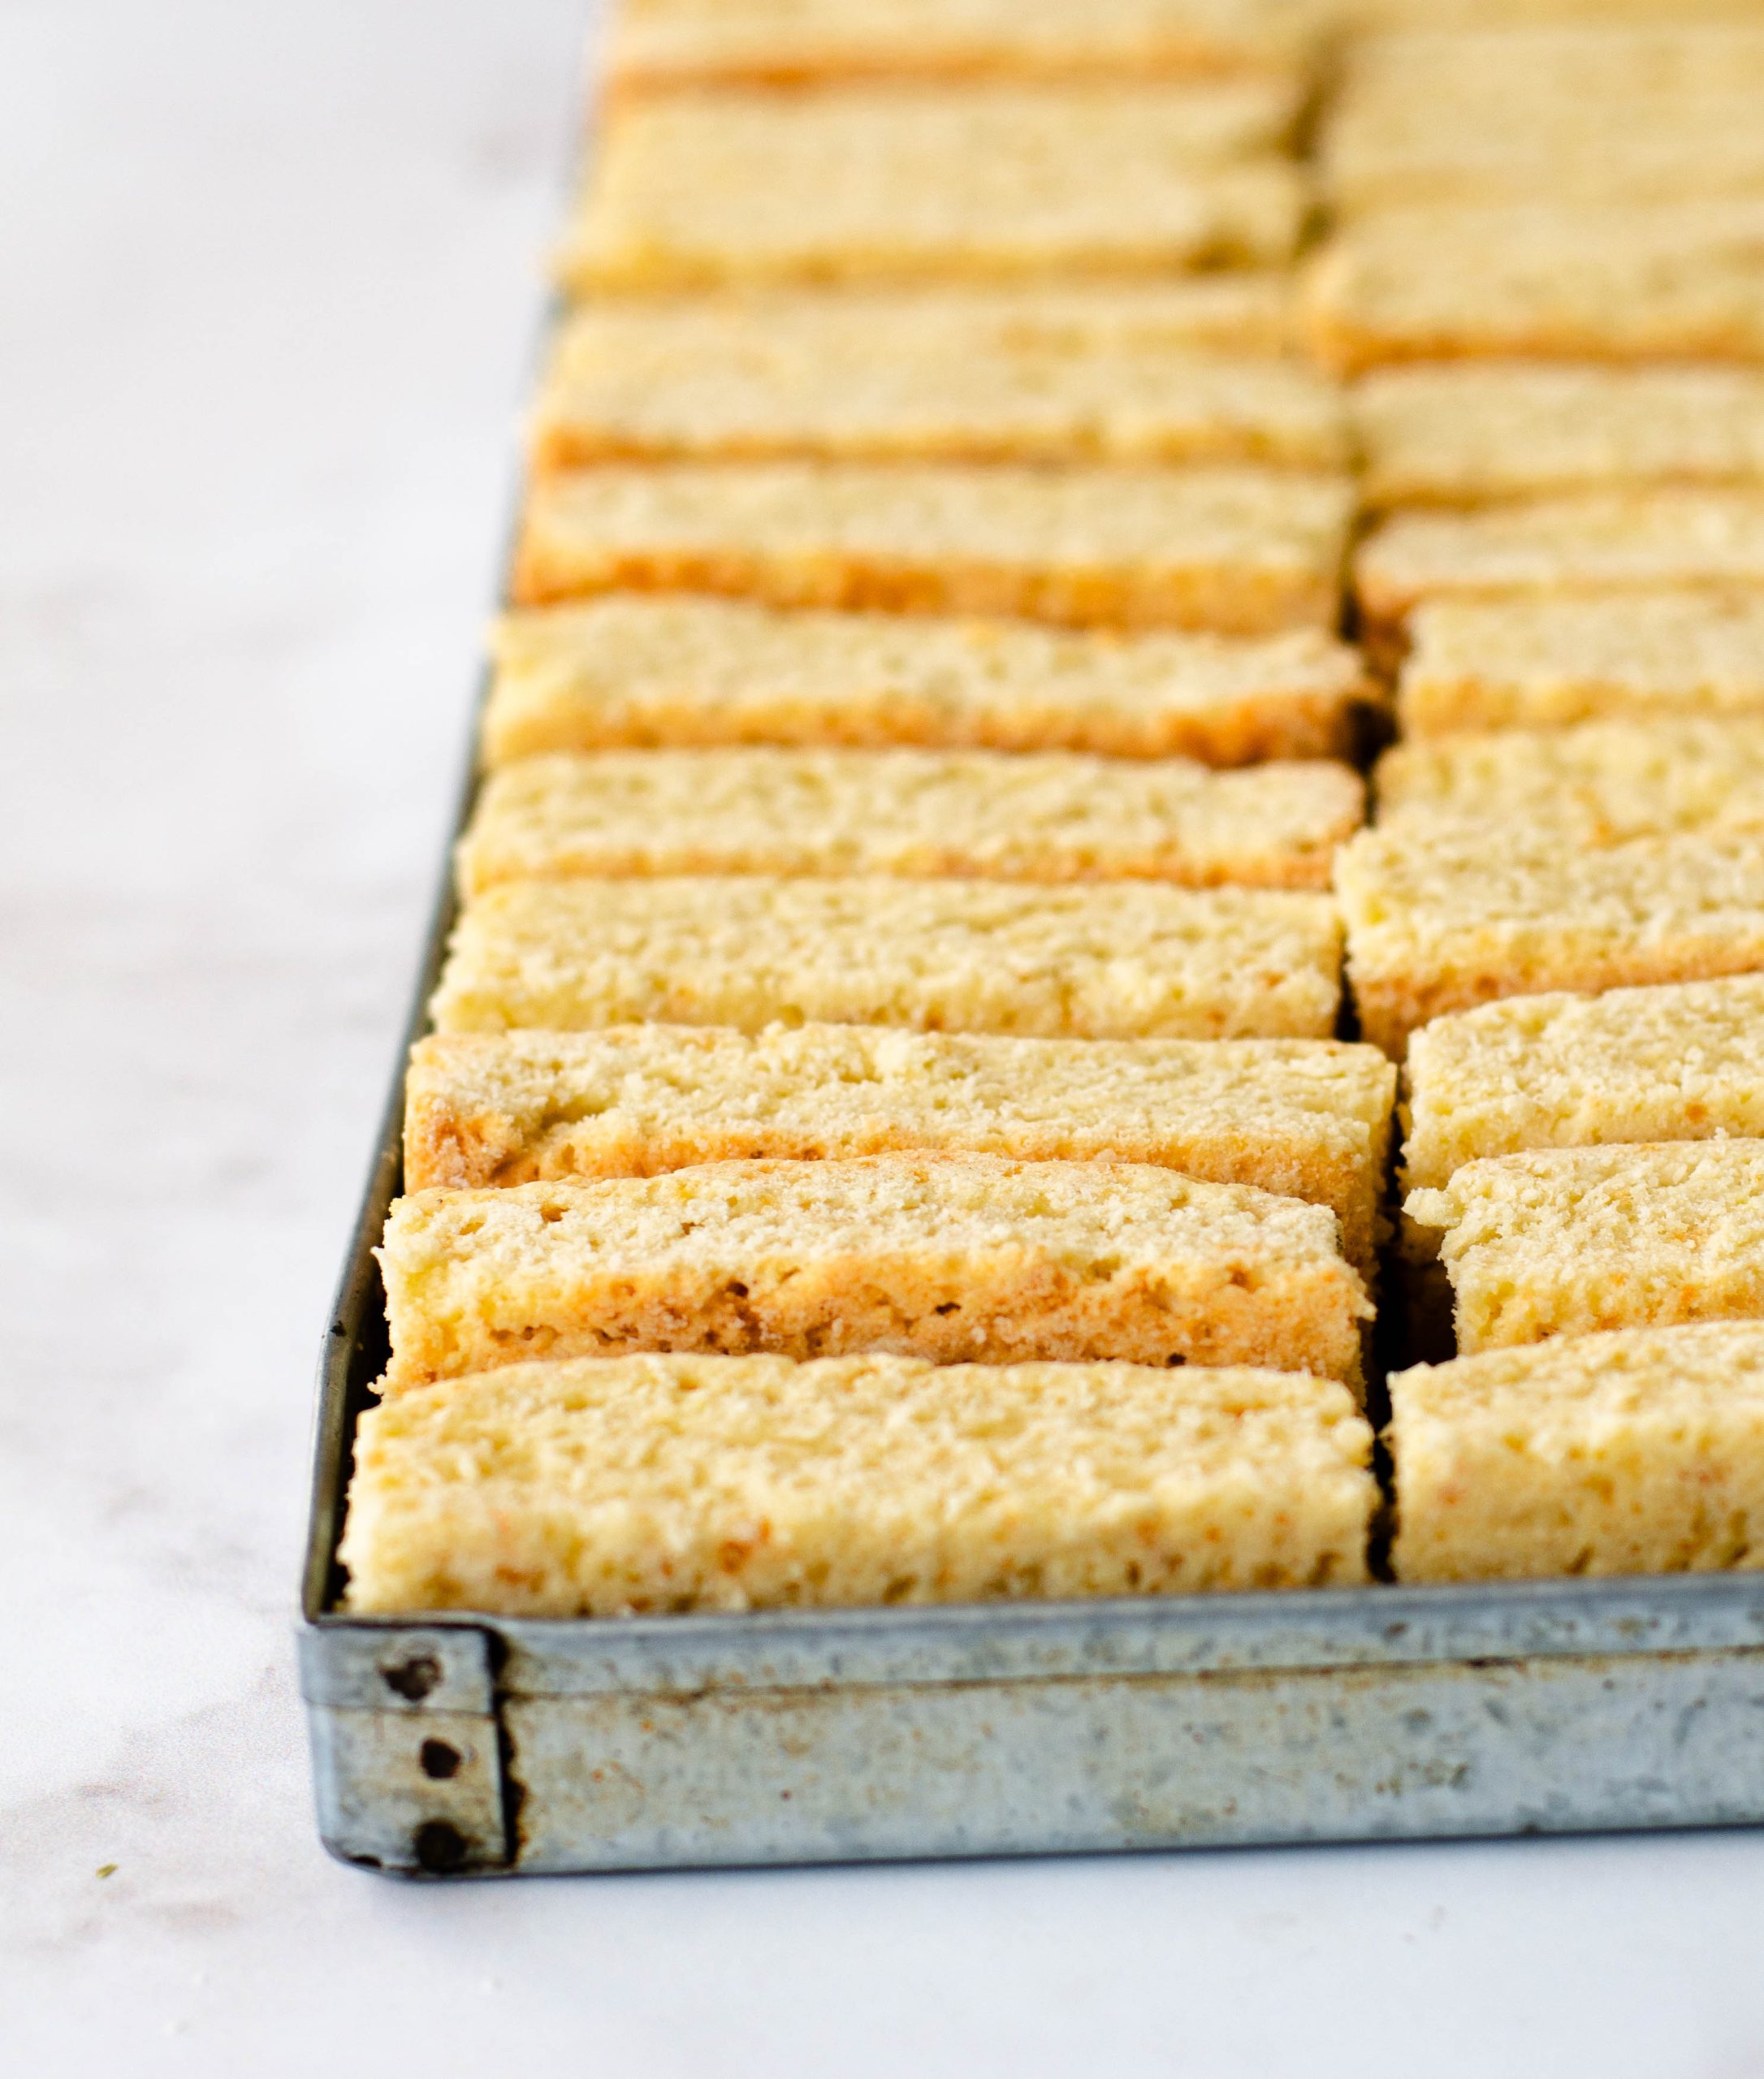
I love my small rusk tray from Panneman you can order online and they deliver everywhere in South Africa. It makes rusk making so much easier. Just grease and press frame into dough before baking. But don’t bake with frame. It makes cutting so much easier and the results are a perfect cut rusk.
Hope you enjoy making them and that you are happy with the results. They taste a bit like Scottish shortbread and if you can’t have gluten you will be very happy to have find a rusk that you could make yourself and enjoy,
Delicious and perfect Gluten-free rusks, not crumbly and the dough is easy to work with.
Taste delicious, a bit like Scottish shortbread.
Scale
Ingredients
500g Health connection Gluten-free Self raising flour blend
1 tsp salt
3/4 cup demererara sugar
150ml buttermilk
125g butter melted
2 eggs
1/4 cup olive oil
5ml vanilla
Instructions
Preheat oven to 180˚C
Add flour and salt and sugar to a large mixing bowl and stir.
Measure the buttermilk in a measuring jug and add eggs, vanilla, melted butter and olive oil. Mix with a fork and add the wet ingredients to the dry ingredients and mix until you get a thick dough-like batter. Add a little extra flour if too sticky.
Empty the mixture into a baking tray lined with baking paper and greased with oil or butter. The baking tray should be about 23 x 33cm and 3-5 cm deep. I just use my rusk baking trays, they are fairly large so I just fill the pan halfway and then press with the tray cutter.
Bake for about 45minutes until cooked and slightly brown, gluten-free flour does not brown ass well as normal wheat flour.
Remove and allow to cool, turn out onto a large chopping board and cut into even fingers. Place back in baking tray on sides. Leave some space between rusks. If it is easier you could also cut the rusks in the tray and just turn them sideways.
Dry out overnight (8-9 hours) in a 60˚C oven or for 6 hours in a 100˚C oven. Turn them over once if you can so the rusks can dry on both sides.
Another drying method I often use is to preheat the oven for about 10 minutes and then turn the oven off. Leave the rusks in the oven until completely cooled down. Or place the rusks back in a hot oven after you used it for something else. And let the oven cool down with the rusks inside. Repeat this process about 3-4 times until the rusks are dry. This will save you some electricity costs.
NOTES
Any gluten-free self-raising flour blend should work for this recipe. It is normally a combination of rice flour, potato flour, tapioca flour, maize flour, raising agents and xanthan gum
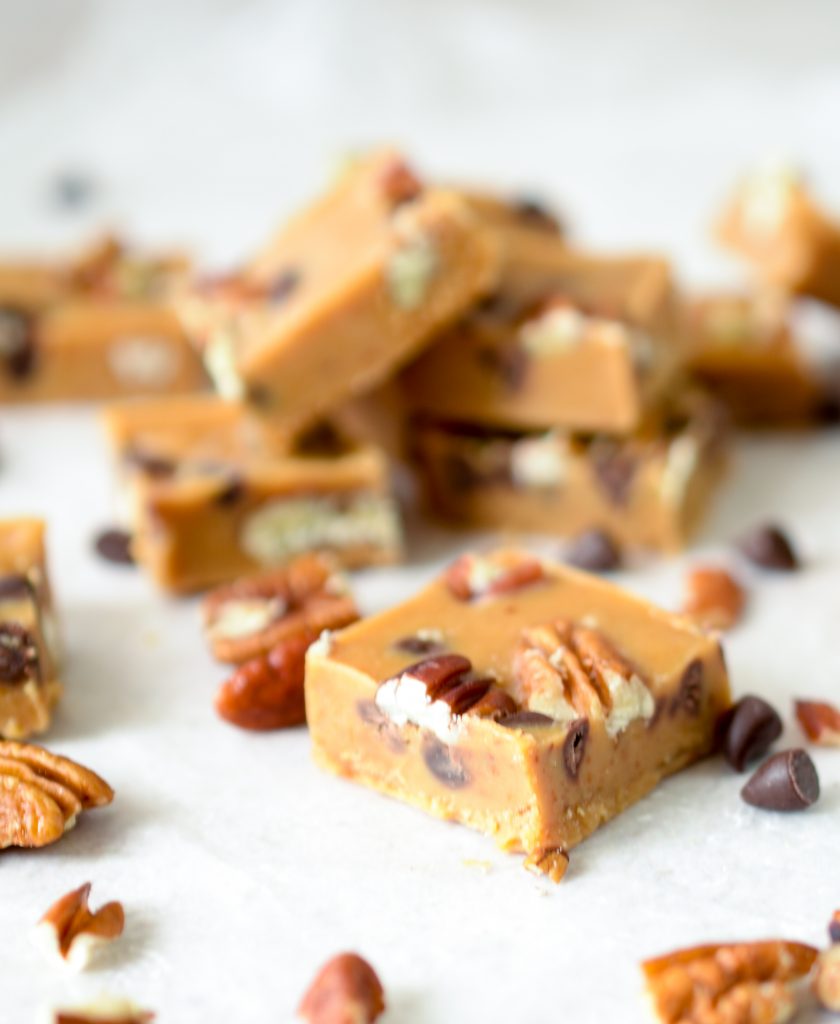
This is a super quick treat to make and is gluten and dairy free. It…
This Post Has 23 Comments
I am a South African living in Canada I have been looking for a gluten free tusk for ages so I will definitely try this one can you use margarine instead of butter
Yes margarine will also work but butter will always give a better quality bake because of the fat content. Margarin on the other hand is more processed and made from oil, water, salt, and a few additional ingredients such as emulsifiers. I know margarine is normally also cheaper. Do you have a specific reason you rather want to use margarine?
Of maak self die meel met hierdie blend van GF mele
GLUTEN-FREE FLOUR MIX
290 g white rice flour
290g brown rice flour
230g potato flour
175g tapioca flour
14g xantum gum
Sieve ingredients together a few times to make sure it is mixed through. Also, use balloon whisk to stir.
Store in a 1L glass container. Use instead of wheat flour in baking. But when baking these rusks, measure out 500g of flour and add in 2 tsp baking powder and 1 tsp bicarbonate of soda.
I finally have the courage to try my hand at these gluten free buttermilk rusks!
I have to make a few subs/adjustment to fit my lifestyle though. I have Hashimoto’s auto-immune…. so no gluten, dairy, soy or sugar (white or brown) and nothing iodized.
I was thinking of using of making the buttermilk with coconut milk and applecider/lemon juice and then vegan spread instead of the butter. I don’t have any olive oil, so was thinking about subbing it with sunflower oil. I only have the regular gluten-free flour so need to make that into a self rasising as well.
That is a Lot of changes, but do you think it would be possible??
Any guidance would be appreciated.
Hi Sune, thank you for your message. All of these substitutions will alter the original recipe but you can experiment and see what happens. Here are my thoughts on the ingredients.
Margarine- It is extremely processed and I would stay away from margarine. Butter would still be a better option than margarine. Other sources that could work:coconut oil/ghee/grass fed butter
Sunflower oil- The seed oils cause inflammation that you don’t want when you are fighting an autoimmune disease ideally use olive or avocado oil
Sugar-Rather use coconut sugar
Coconut milk-could work but it will add to the fat content that would make the rusks very high in fat and might change the texture. Try using Buttanut-Almond Milk.
Self-raising flour-Add 1tsp bicarbonate of soda and 2tsp baking powder.
I am sorry that the recipe did not turn out great.
Did you use GF Self-raising flour?
I like this one from Health Connection
The recipe does not have any raising agent like baking powder or bicarbonate of soda so it is important to use the Self-Raising flour.
Hi Ankie,
I would like to try this recipe. I have a homemade gf flour blend which contains white rice flour, potato starch & Corn flour (not corn starch) I hope it will work & also it doesn’t have xanthum gum, so how much quantity to add the gum?
Also I want to make it eggless so can i replaced the eggs with more buttermilk?
Pls reply
Brilliant recipe! I haven’t had rusks in years but this recipe worked perfectly and the rusks are divine. For those with a fan oven, we dried them at 90*C for 4 hours and this dried them out nicely.
Hello Ankie,
I made this buttermilk recipe. Used gluten free flour from the @thehealthfoodimporium. Added baking powder to make self raising. Used caramel sugar.
Doubled recipe and this fitted perfectly into my Panneman rusk pans.
The rusks are delicious and are not crumbly like
some gluten free recipes.
Thank you for sharing.
Will definitely be making these again..
I am so glad to hear that. Thank you for your feedback:)
You can also try to add 1 tsp bicarbonate of soda and 2 tsp of baking powder if you want an extra rise:)


I am a South African living in Canada I have been looking for a gluten free tusk for ages so I will definitely try this one can you use margarine instead of butter
Hi Anne
Yes margarine will also work but butter will always give a better quality bake because of the fat content. Margarin on the other hand is more processed and made from oil, water, salt, and a few additional ingredients such as emulsifiers. I know margarine is normally also cheaper. Do you have a specific reason you rather want to use margarine?
Yes you can, I just like to use unprocessed fats in my baking.
Angie; ek kry nie gluten free bruismeel in Kanada nie.
Hoe kan ek die aanpassing vir die Meel maak?
Sophia
Jy kon dalk hierdie meel probeer het?
https://www.walmart.com/ip/King-Arthur-Flour-Measure-4-Measure-Gluten-Free-Flour-3lb/395689920?from=/search
Of maak self die meel met hierdie blend van GF mele
GLUTEN-FREE FLOUR MIX
290 g white rice flour
290g brown rice flour
230g potato flour
175g tapioca flour
14g xantum gum
Sieve ingredients together a few times to make sure it is mixed through. Also, use balloon whisk to stir.
Store in a 1L glass container. Use instead of wheat flour in baking. But when baking these rusks, measure out 500g of flour and add in 2 tsp baking powder and 1 tsp bicarbonate of soda.
Hoop jy kom reg
Groete
Ankie
Hi Ankie, can you use Stevia instead of demererara sugar?
Yes, you can but I don’t like stevia’s aftertaste. I would rather use coconut sugar.
Hi Ankie
I finally have the courage to try my hand at these gluten free buttermilk rusks!
I have to make a few subs/adjustment to fit my lifestyle though. I have Hashimoto’s auto-immune…. so no gluten, dairy, soy or sugar (white or brown) and nothing iodized.
I was thinking of using of making the buttermilk with coconut milk and applecider/lemon juice and then vegan spread instead of the butter. I don’t have any olive oil, so was thinking about subbing it with sunflower oil. I only have the regular gluten-free flour so need to make that into a self rasising as well.
That is a Lot of changes, but do you think it would be possible??
Any guidance would be appreciated.
xxxx
Hi Sune, thank you for your message. All of these substitutions will alter the original recipe but you can experiment and see what happens. Here are my thoughts on the ingredients.
Margarine- It is extremely processed and I would stay away from margarine. Butter would still be a better option than margarine. Other sources that could work:coconut oil/ghee/grass fed butter
Sunflower oil- The seed oils cause inflammation that you don’t want when you are fighting an autoimmune disease ideally use olive or avocado oil
Sugar-Rather use coconut sugar
Coconut milk-could work but it will add to the fat content that would make the rusks very high in fat and might change the texture. Try using Buttanut-Almond Milk.
Self-raising flour-Add 1tsp bicarbonate of soda and 2tsp baking powder.
Would other baking trays have similar results?
Hi Andrea, yes certainly! You will just need to cut it afterwards and it might not look as neat:)
Hi
I tried this recipe today, the rusks came out more like biscuits than rusks, didn’t rise much, any suggestions?
Dear Rentia
Thank you for your message!
I am sorry that the recipe did not turn out great.
Did you use GF Self-raising flour?
I like this one from Health Connection
The recipe does not have any raising agent like baking powder or bicarbonate of soda so it is important to use the Self-Raising flour.
Let me know if I can help you further.
Regards
Ankie
Hi Ankie,
I would like to try this recipe. I have a homemade gf flour blend which contains white rice flour, potato starch & Corn flour (not corn starch) I hope it will work & also it doesn’t have xanthum gum, so how much quantity to add the gum?
Also I want to make it eggless so can i replaced the eggs with more buttermilk?
Pls reply
★★★★
Hi Sonu
So glad you want to try this recipe! My suggestion would be:
to add ½ tsp xanthan gum per cup flour blend, otherwise the mixture will be too crumbly
Replace each egg with a flax/chia egg, or if you’re avoiding seeds, use 3 Tbsp buttermilk + ¼ tsp xanthan gum per egg.
Hope it works out, let me know:)
Ankie
Brilliant recipe! I haven’t had rusks in years but this recipe worked perfectly and the rusks are divine. For those with a fan oven, we dried them at 90*C for 4 hours and this dried them out nicely.
★★★★★
Hi Alex, so glad to hear that. Happy baking!
Hello Ankie,
I made this buttermilk recipe. Used gluten free flour from the @thehealthfoodimporium. Added baking powder to make self raising. Used caramel sugar.
Doubled recipe and this fitted perfectly into my Panneman rusk pans.
The rusks are delicious and are not crumbly like
some gluten free recipes.
Thank you for sharing.
Will definitely be making these again..
★★★★★
Hi Annette
I am so glad to hear that. Thank you for your feedback:)
You can also try to add 1 tsp bicarbonate of soda and 2 tsp of baking powder if you want an extra rise:)
Delicious rusks with fine texture So tired of store- bought rusks that taste like card- board
Thank you, came out perfect
★★★★★
Hi Amanda, so glad to hear that:)
Hi Ankie
Can I add anise seed to this recipe without changing anything?
Hi Maggie, yes you can. It won’t affect the recipe. I would add about 2 tbs.